
I was 'put to bed' myself just over a year ago and my friend gave me a little card with this message on it ...
"This Too Shall Pass"
... I decided it was time to return the favour in the only way I know how.
.JPG)
This was my first time making a Dresden Plate and I really enjoyed it ... I hope that some of that joy mojo is felt in the pillow and that it makes my friend smile when she sees it ... especially on those really bad days.
.JPG)
I managed another zip! Popped it on the bottom as I still haven't quite mastered the hidden zip yet ...
.JPG)
... and popped some of those lovely sunny dots (same as the dots used for the Liberty Pouches) to cheer her up even on a washing day when she has to strip the pillow.
.JPG)
.JPG)
.JPG)
There are a few wrinkles and crinkles in the pillow after I ironed it with steam (will I never learn?!) but other than that I think it was a great first attempt. It helps when you have a fantastic tutorial to follow though! The only thing I did differently was to use the circle template as if I was English Paper Piecing.
.JPG)
I cut my fabric about a 1/4" larger than the template provided then used my glue pen to create the circle. I then removed the paper template and pressed the seam allowance down. I then placed the fabric in the middle of the Dresden plate wedge circle and top stitched it down as per the Dresden wedges.
Pillow Stats:
Size: 20" x 20" (with a 22" pillow form in it)
Fabric: Hanky Linen in Silver for the background and Art Gallery Fabrics "Drift" by Angela Waters for the Wedges
Tutorial/Pattern was found on Sew Mama Sew here
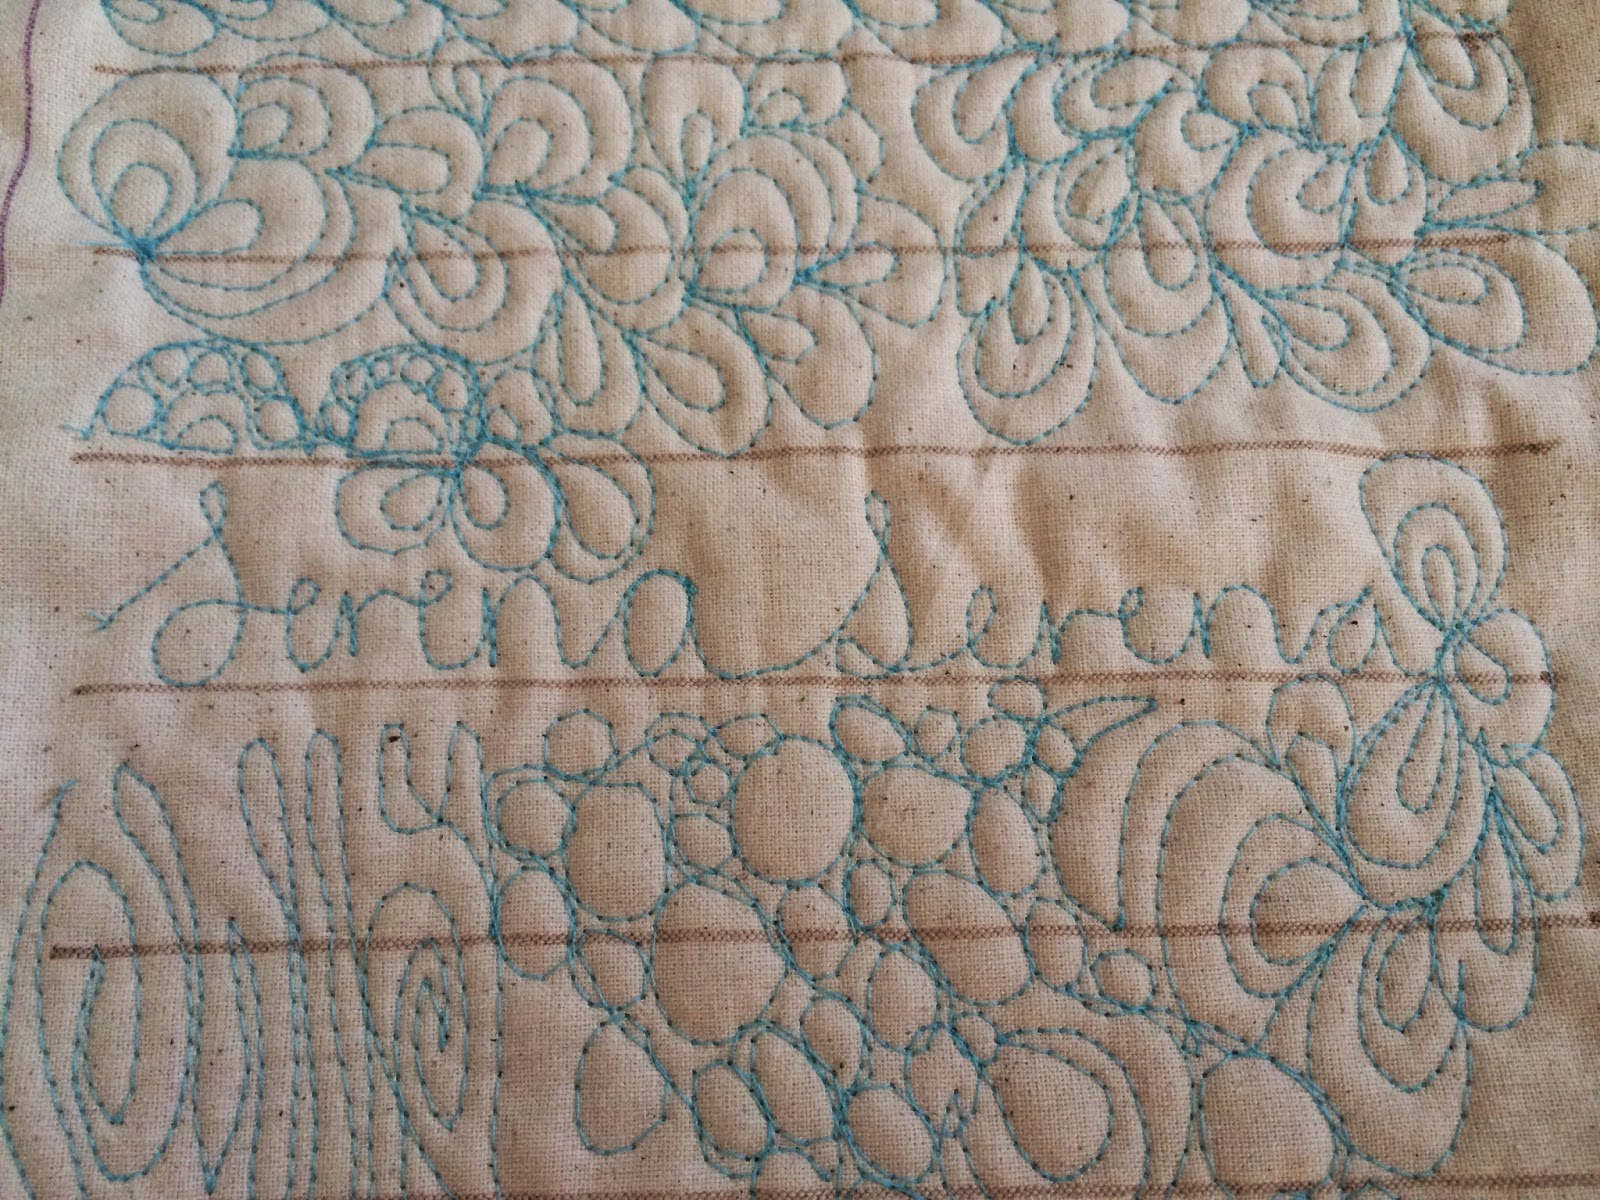
Embroidery Pattern is my own design
If you would like to embroider the same message for a special someone then I've attached the pattern here for you for free. ... well at least I hope I've attached it correctly! First time user of Google Drive at work here :)
Serena xx
I'll be linking up with TGIFF and Finish it Up Friday

.JPG)
.JPG)
.JPG)
.JPG)
.JPG)
.JPG)
.JPG)


.JPG)
.JPG)
.JPG)

.JPG)
.JPG)
.JPG)
.JPG)


.JPG)
.JPG)
.JPG)
.JPG)
.JPG)
.JPG)
.JPG)
.JPG)
.JPG)
