Monday 22 December 2014

Little Quilts Swap

A few months ago I put my virtual hand up to participate in my first Instagram Swap - eep!

What fun! 

It all started when Ruth kindly sent me the Little Quilts book co-authored by Sarah Fielke and Amy Lobsiger 


Then Sarah decided to run a swap on IG and I just couldn't resist.

I received my partner ... she said she liked replica vintage fabrics, bees, embroidery, hexies, blues and yellows ... so I pulled my Art Gallery Dreamin' Vintage (just made for this little quilt!) and got my hexies on!


Then it was time to embroider the little bee ...


I decided to add a touch of gold thread to the abdomen ... 


 When it came time to hand quilt, I decided to use the same gold thread ...


... I'm really pleased I did!  As this is just a decorative piece, I thought I could get away with it.

But the gold rush didn't stop there ... this is the back!


Too much?  I love it, but if my partner doesn't then at least it's on the back!

As you can see I added a bit of gold with the binding too ... but had a little problem when I did ...


... ah ... why is my little quilt resembling a bowl??

A quick shout out to the IG community and it seems a nice hot iron would fix the job - phew!  


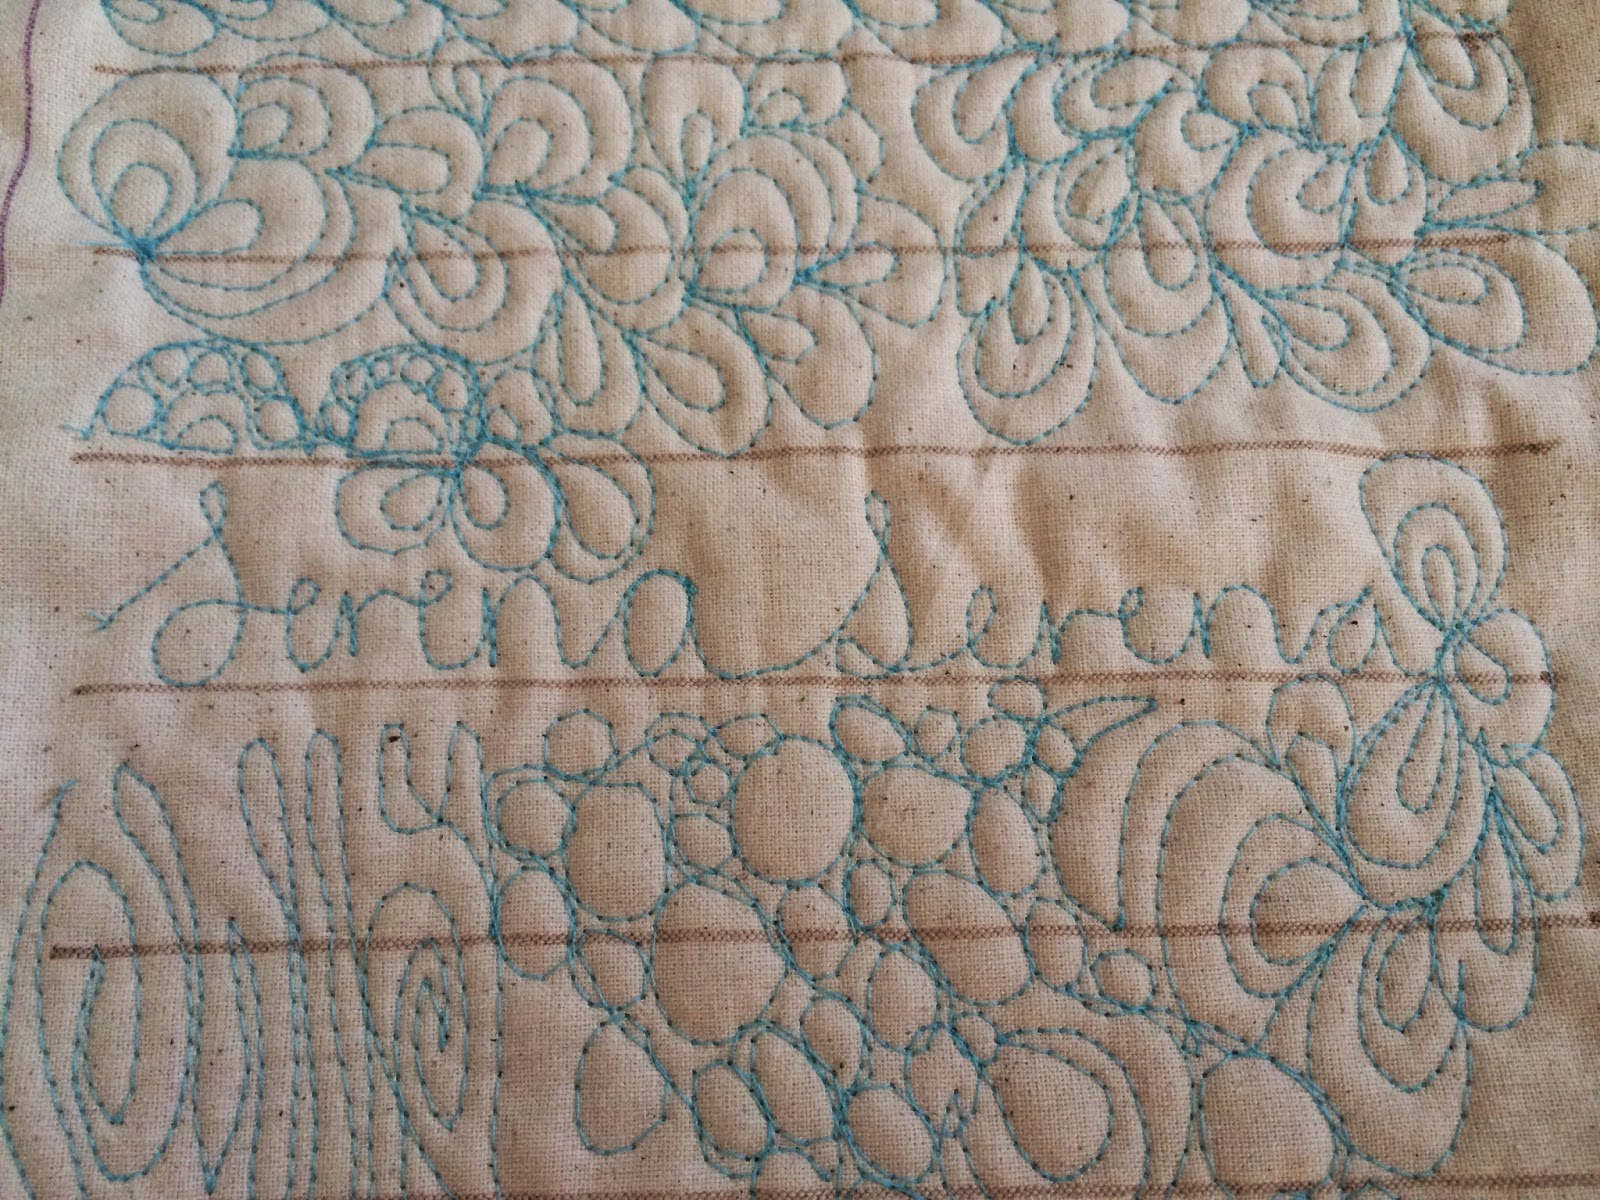
I added a label ... took some final pics and decided to keep it myself promptly popped it in the post, with some extras, a few days before deadline.


Then I waited, and waited, freaked out a little that I hadn't heard of it arriving yet.  Waited some more ... then Australia Post finally delivered the little quilt to it's new owner ... and she loved it ... and exhale!!!


Then just yesterday (on a Sunday!) I received my new Little Quilt from my secret partner ...


Isn't she lovely??

Hmm this swap business is pretty fun!  I might join in a bit more in 2015 ... 

Serena xx

Linking up with Monday Makers, TGIFF, Finish It Up Friday

Tuesday 16 December 2014

This Too Shall Pass ...

A dear friend of mine is going through a really shitty (there I said it) patch of bad health.  It's not fun being that ill when you have two little ones, a hubby and a life (no less) to love and enjoy ... 

I was 'put to bed' myself just over a year ago and my friend gave me a little card with this message on it ...


"This Too Shall Pass"

... I decided it was time to return the favour in the only way I know how.


This was my first time making a Dresden Plate and I really enjoyed it ... I hope that some of that joy mojo is felt in the pillow and that it makes my friend smile when she sees it ... especially on those really bad days.


I managed another zip!  Popped it on the bottom as I still haven't quite mastered the hidden zip yet ...


... and popped some of those lovely sunny dots (same as the dots used for the Liberty Pouches) to cheer her up even on a washing day when she has to strip the pillow.


There are a few wrinkles and crinkles in the pillow after I ironed it with steam (will I never learn?!) but other than that I think it was a great first attempt.  It helps when you have a fantastic tutorial to follow though!  The only thing I did differently was to use the circle template as if I was English Paper Piecing.  


I cut my fabric about a 1/4" larger than the template provided then used my glue pen to create the circle.  I then removed the paper template and pressed the seam allowance down.  I then placed the fabric in the middle of the Dresden plate wedge circle and top stitched it down as per the Dresden wedges.

Pillow Stats:
Size: 20" x 20" (with a 22" pillow form in it)
Fabric:  Hanky Linen in Silver for the background and Art Gallery Fabrics "Drift" by Angela Waters for the Wedges
Tutorial/Pattern was found on Sew Mama Sew here
Embroidery Pattern is my own design

If you would like to embroider the same message for a special someone then I've attached the pattern here for you for free.   ... well at least I hope I've attached it correctly!  First time user of Google Drive at work here :)

Serena xx

I'll be linking up with TGIFF and Finish it Up Friday


Friday 12 December 2014

Liberty Pouches

An extra pouch never goes astray ... am I right?


I've been sewing up a few as Christmas gifts this year ... teachers, friends, family ... if you know me, then you're probably going to get a pouch!


Out of ALL of them though ... these little Liberty and Hanky Linen ones are my favourite.


They gave me the opportunity to play with metal zips for the first time.  I like the juxtaposition of the metal next to the delicate Liberty.

... but I had some trouble with those metal zips  ...

... no sewing over them, must go around them ...


Thank goodness the guild I attend (Perth Modern Quilt Guild) had a sewing day recently and I managed to seat myself next to a metal zip master - the zipper Gods were kind to me.  So, I'd like to take full credit for these, but I did have quite a few tips thrown my way!


Hanky Linen in Birch (thank you Craftproject) make up the majority of the outer case with a highlight strip of Liberty that I picked up from Luccello in Melbourne on our Winter holiday this year ... Love Melbs in Winter ... I finished them off with a simple running stitch using coordinating DMC threads, in the full 6 strands.  Bit of a bugger to thread on a needle, but I love the chunky look it gave ... again, toughening that Liberty up a bit along with the metal zips.


They are lined with a yellow dot fabric that I had originally picked as a quilt backing, but then changed my mind.  I don't like fabric hanging around not being used or having a purpose, so I was quite happy to pop those sunny little dots inside these pouches - they make me smile and I hope they make the recipients of these pouches smile too ... but if the sunny dots don't do the trick then perhaps the little tidbit of Liberty I've stashed inside will?


Happy Friday everyone :)

Serena xx

Linking up with TGIFF and Finish it Up Friday


Tuesday 9 December 2014

Quilt Washing Instructions - Feedback

Turns out not everyone lives in the second sunniest city in the world ... Perth, Western Australia ... so they tend to tumble dry their quilts on low heat with no ill results.

Thank you for your feedback on my quilt washing instructions ... in return I've had a new label created and you are most welcome to grab yourself a copy.


To do this:

1. Use your mouse to right-click on the label.
2. Select "Save Image As" from the drop-down box.
3. Save in a handy place on your computer.

This label has been created for you to use as you wish and include with your next donated. gifted or sold quilt.

This is how I will be including the quilt washing instructions label in my "after-gifted/sold/donated" information pack:


I hope you find this label useful and your family, friends and clients will be less fearful of washing the masterpiece you created for them.

Happy washing everyone!

Serena xx

Linking up with Crazy Mom Quilts

Monday 1 December 2014

It's O.K. To Wash It!

I recently found out, from a rather sheepish friend, that she hasn't washed a quilt that I gave to her over a year ago.  She's not cruddy or anything, in fact the quilt looked as pristine as the day I gave it to her ... she was just too afraid to wash it.

Oh my goodness! 

She said she was worried about ruining the quilt if she washed it ... and so had not washed it ... for a whole year ...

I felt so bad for her.  My quilt was just one big burden instead of the warm, soft, cuddle it was intended to be.

I had to fix this straight away ...

After chatting with her a bit about it, I realised that I handed her the quilt with no washing instructions.

Silly me!  

Not everyone owns a quilt and not everyone has received something handmade ... one of a kind ... just for them.  No wonder she was scared.


I spoke to my mum about it and even she admitted feeling quite nervous about washing the quilt that I made for her birthday.  My mum!  Who's done mountains of washing! Who crochets and sews herself and owns heaps of handmade items ... handed down the generations ... no less!

I definitely had to fix this straight away!

So I set to writing a little "welcome to owning your own quilt" washing instructions.  I don't pre-wash my fabric before I use it, nor do I wash the quilt before I hand it on.  I don't pre-wash because, well, if I'm honest, I'm too excited to use the fabric and probably, if I'm even more honest, I'm too lazy to wash it first.  I don't wash the quilt before handing it to it's life time owner because, well, people like their own laundry powder smells.  They may have sensitive skin, or prefer Omo over Fab ... and if they are anything like me, then they always wash a purchased blanket, quilt or sheet before using it.

So here's what I came up with ..


What do you think?  Do you do something similar?  Can you think of anything else I can/should add?

My poor friend ... I really must make it up to her somehow ... perhaps another quilt?  This time with washing instructions!?  lol ...

***Thanks to some wonderful feedback in regards to this post, I can now offer a free download of the updated washing instructions here ... go get it! ***

Serena xx


Wednesday 12 November 2014

Possum Magic - Round 3

Hello Possums,

I've been busy working on my border for Wendy's Possum Magic quilt ... and boy have I had some fun with this one!

This is how I received the quilt from the lovely Jo ...

Pondering a 3rd border on the design mattress

I think Jo was on the right track adding some pink into the mix ... it brightens the quilt up a bit and reflects the specks of colour included in Wendy's original centre as well as complimenting the gorgeous fabrics Sharon used in her 2nd border.


I still thought that the lime green star was a tad too prominent amongst all the blue and purple so I decided to add a ring of colour to help balance out the star.  I also decided that my border had to have a larger scale than the previous two borders, again to balance out the star.


Along came the perfect charm pack through @cotton_factory_destash on IG.

It's lovely jewel tones compliment this quilt beautifully whilst still adding a zing of colour.

Michael Miller Gem Tones

If you have a little boo-peep at Wendy's blog you'll be treated to an abundance of colour on colour quilts, so I thought (and hoped) that all this colour wouldn't offend her.


Tada!


and an inside shot to get another perspective of all that colour ...


and a stained glass shot just because I can :)


I'll be sending this lovely peacock quilt off to Carla now to work her magic.  Happy Wednesday everyone!

Serena xx

I'll be linking up to WIP Wednesday and Let's Be Social ... hope to see you there!


Monday 10 November 2014

Take That Class

I just finished reading Alyce's post about her 15 minutes with Weeks Ringle ... truly inspiring.  You can go over and read the entire post yourself but one paragraph stood out to me in particular  ...  it was in line with attending classes at your local quilt shop vs soaking in information from an online format in the comfort of your own home.

"just keep swimming" says Dory
Mostly I've been going the online route myself.  Firstly, because it is easier to plug in when the kids are asleep rather than arrange babysitters/or co-ordinate with hubby's busy work schedule so I can leave the house for the day and secondly, we don't usually get a lot of the "big names" visiting us here in the most isolated city in the world (hmm, I wonder why?).

... just keep practising ...
But why wait for a big name, when there are plenty of skilled up quilters right on my door step?  I got wind of a beginners FMQ class running at a LQS recently and jumped on the class list.  I'm so glad I did.

I have been teaching myself how to FMQ for a while now ... again, online, when the kiddies are all tucked in ... and to be fair the information out there online is amazing and it's really helped me to nut most of it out and then I know it's up to me to practise, practise, practise.


BUT nothing beats a human being standing over your shoulder, tweaking your machine just that little smidge to make ALL the difference to the quality of your stitches.  A full day of practising to gain confidence in a room full of people at the same level as you.  Confidence to try new quilting patterns because you were just shown how ... how to backtrack properly ... how to get yourself out of that corner ... how to not get yourself in that corner in the first place!

Still a long way to go, but so glad I took that class

Kind words of experience from a human standing in the same room as you .. nothing beats it.

Tuesday 14 October 2014

The Quick (not Brown) Fox

A Quick Brown Fox quilt for a Kindy friend ... 


... she's having a little boy and I jumped at the chance to make a boy's quilt for once! 

Front


It's a quick appliqué quilt ...

Back: Master Monty fancies himself a bit of a fox

... but it gave me a chance to try out the Trapunto technique and I love, love, love the effect.  Especially on a simple little quilt like this ... it's nice to have a little extra love added to it.

It would puff out more if I quilted heavily around it

I originally wanted to try to a wood-grain FMQ pattern to fill in all of that negative space but in the end I chickened out decided on a floor board pattern instead ... might try the wood-grain on a cushion first ... baby steps


But how about this easy floorboard pattern?


I started by sewing vertical straight lines at 3.5" intervals and then some horizontal straight lines to form the plank ends.  To make the nail heads I used stitch 29 in mode 2 of my Janome Horizon Memory Craft 8200 QC.  It's in the button hole section ... you might have something similar on your machine?


I was having trouble deciding between red or blue fabric for binding ... I put the call out to the IG community (I'm @sewgiving) and blue was the favourite so I took their advice ... thank you clever people!

I'm finally labelling my quilts ... can you spy it?

I used some ... erm ... unconventional fabric to make this quilt.  Rest-assured it's all 100% cotton but the front 'denim-look' fabric is a table cloth from Ikea and the backing is a drill cotton from Spotlight. 


They were both fine to work with ... though the tablecloth was a little stretchy ... I just love the look of the denim though for a little boys quilt.

I'd like to keep experimenting with soft denim in the future but need to find a better source of fabric than an Ikea tablecloth!  Any suggestions are most welcome!

Quilt Stats:
The Quick Brown Fox
Size: 44" x  41" (Baby Quilt)
Fabrics: Ikea Solfint Tablecloth and Spotlight Drill
Wadding: Soft and Cosy 100% Cotton
Binding: Windham Fabrics "A is for ..."

One last pic of the fox basking in some sunshine ...

Serena x

I'll be linking up to Sew Cute Tuesday, Fabric Tuesday, Let's Be Social, TGIFF, Finished it up Friday


LinkWithin

Related Posts Plugin for WordPress, Blogger...